Modern TVs have turned into privacy nightmares, with their smart features collecting and sharing our data, hidden product placements, and unskippable ads. Escaping their digital panopticon becomes increasingly difficult.
Fortunately, there is a simple solution to safeguard our privacy: refrain from connecting the TV to the internet and opt for a third-party media center to manage our entertainment collection. One highly recommended option is Kodi, often paired with a Raspberry Pi.
However, Raspberry Pi devices present various drawbacks, including limited processing power, high costs, and the inability to directly connect fast Nvme drives. An ideal solution should offers a hassle-free, plug-and-play experience for everyone to install at home.
I had a brilliant idea: repurpose ronindojo’s Bitcoin nodes into Kodi media centers.
(me after a few drinks)
What is a RoninDojo Tanto?
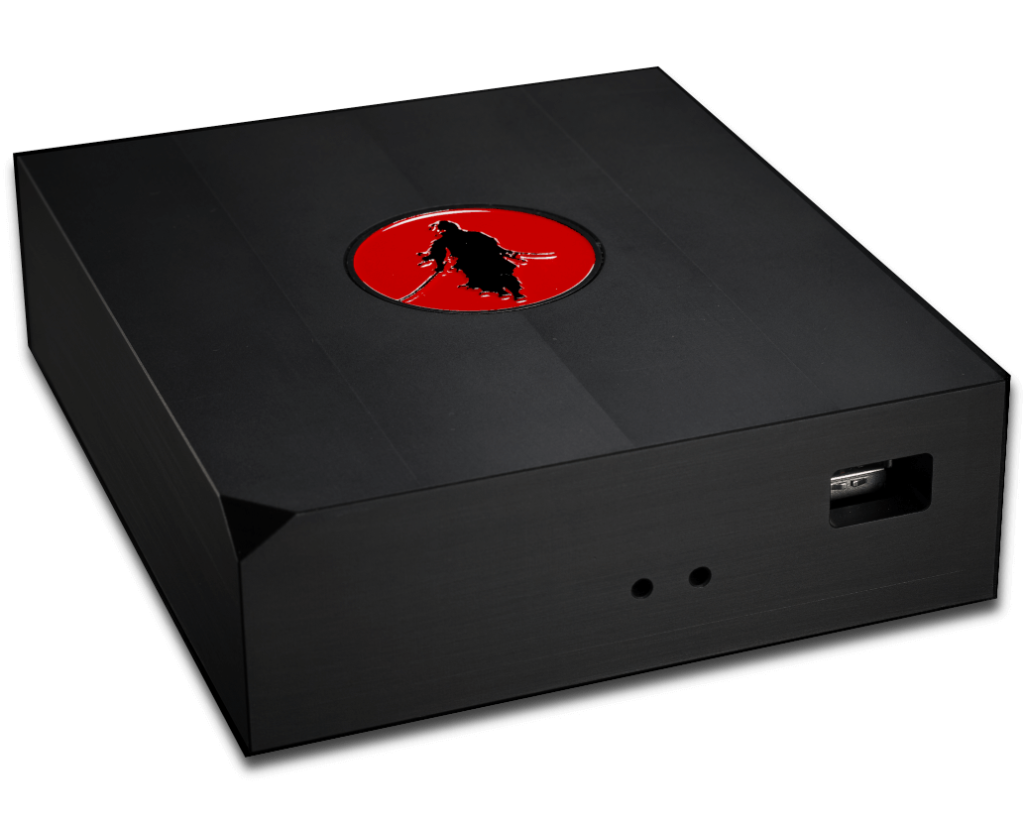
Ronin Dojo Tantos are robust Bitcoin nodes, utilizing the RockPro64, a powerful alternative to Raspberry Pi. They are housed in a durable metal case that can withstand even a zombie apocalypse. They are equipped with several interesting features for our media center.
- a 1Tb Nvme drive (enough to store all our music and video collection)
- a SD card
- HDMI and USB port are accessible.
- Passive 100% silent cooling through the massive metal case.
- Can be used with your TV remote (through HDMI CEC).
Moreover, they include a screwdriver for easy access, eliminating the need for tools to make modifications.
Priced at approximately $599, which I believe is fair considering its comprehensive package, including premium hardware and free, open-source software. By investing in this product, you not only acquire top-notch quality but also support a team of open-source software creators.
That said, utilizing a Raspberry Pi is always an option. Since there are numerous guides available on how to achieve this, I won’t delve into it.
Let’s hack this thing
- A ronin dojo Tanto
- A SD card (optional, only if you want to keep the original image that comes with the Tanto)
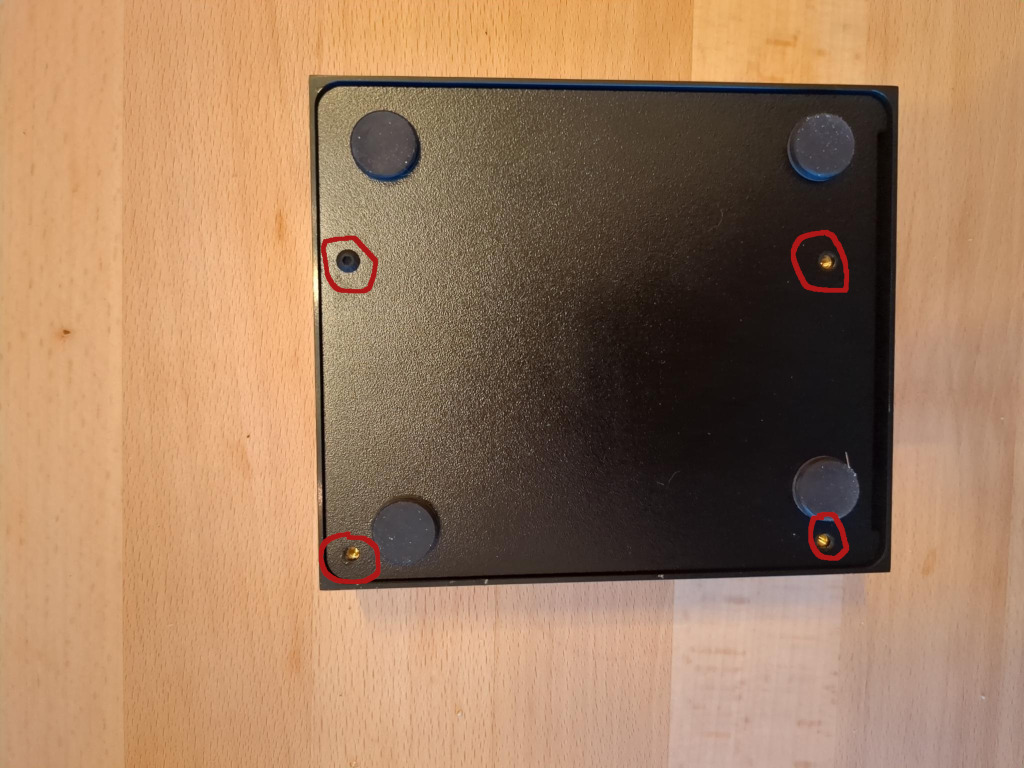
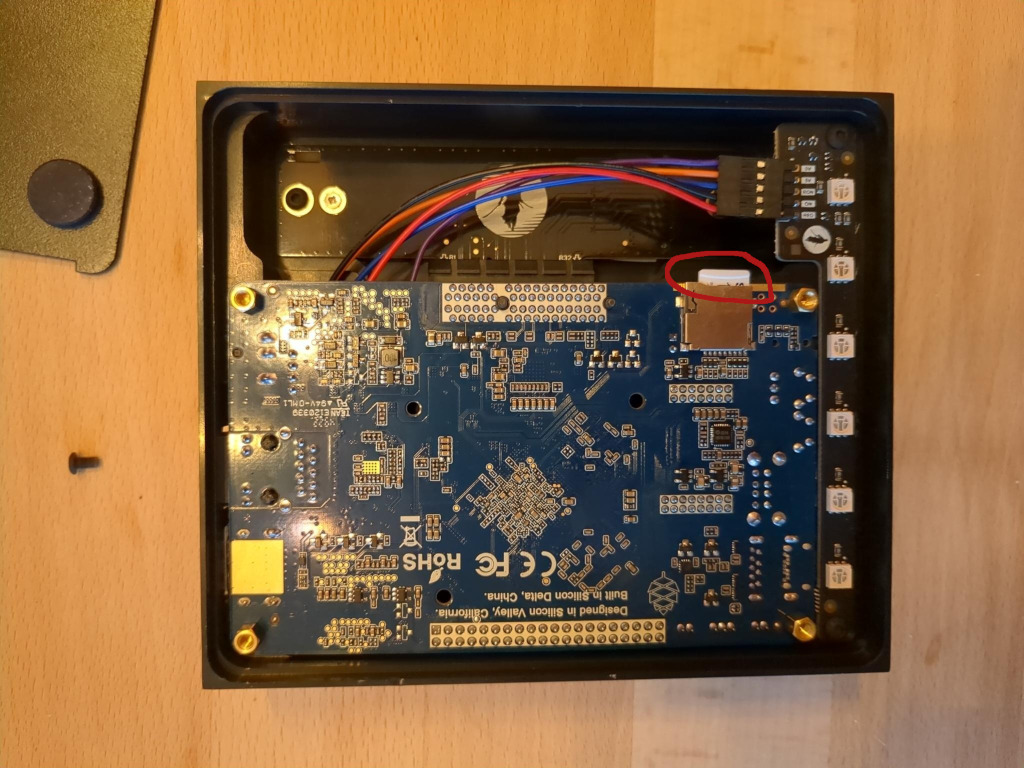
Upon receiving your Tanto, begin by attaching the rubber feet to the bottom. Proceed by unscrewing the four screws to detach the bottom plate and unveil the interior.
Take out the SD card from the Tanto and insert it into your computer. Visit the official LibreELEC website to download the RockPro64 LibreELEC image for flashing.
At the time of this writing, for some reason the latest version, 2023.03 had major issues especially with the network. In the end I had to use the previous one 2023.01
It is possible to retain the original image provided with the Tanto for the Bitcoin node. However, if you prefer to do so, you will need an additional SD card. In the event of a factory reset, simply re-flash the SD card with the original image available for download on the Ronin Dojo website.
Put the SD card back into the Tanto, as you can see its very easy to access all the components once the case is opened.
Next, connect the Ethernet cable, HDMI output, and power supply. You should see the LibreELEC boot screen. At this stage the system will automatically unpack all the required packages and reboot, do not turn it off and leave it until the process is finished.
When you see the Kodi welcome screen you should be able to use your TV remote through HDMI CEC. Feel free to navigate through the different menus and explore the available options. Adding content to your media center can be done in various ways.
The simplest method involves copying files to a USB key and transferring it to your Tanto. Additionally, you can transform it into a small server, enabling computers on your network to share videos, pictures, and more. For more information you can always go to the official Kodi documentation.
Final words
We transformed a bitcoin node into a powerful media center, boasting ample storage for music, pictures, and more. This sleek addition to your TV stand remains completely silent with its passive cooling. It’s a truly impressive and practical upgrade considering we also cut all the tracking your TV is doing in the background.
In the second part, we’ll delve into customizing Kodi to align its appearance with the branding and colors of your Tanto node.
Credits
- Image: https://unsplash.com/photos/AWOl7qqsffM