Nothing is more annoying than having to deal with outages, and while we like to blame it on outside forces often the culprit is, sadly our own network.
Troubleshooting will always follow the same steps:
- First by pinging the gateway router.
- Then if it works we ping some public IP address like 8.8.8.8.
- Finally checking some well known website like wikipedia.org or linux.com.
Of course, a more modern solution would be to use something like a status page which would monitor constantly the connectivity of the network and can be quickly used to diagnose where an eventual problem is located.
Many solutions exists, some are even open source and or free to use, especially for a small local network.

However in many case they are just too complicated for a home network. They require a database, an API entry point, etc.
Quickly maintaining the status page will take significant amount of valuable time and often those pages are full of Javascript with slow loading and potentially broken inside your favorite web browser.

The solution is, as you might expect just to create our own!
But before we start we should have a few requirements and objectives. To keep it simple one of the best ways is to reduce it to the bare minimum and avoid as much as possible external dependencies which can all potentially fails.
- We need it to be very simple, emulating the manual process of troubleshooting (pinging, checking a webpage etc).
- The central part will be a python script generating a html report.
- The report should be very simple.
- No Javascript or a complicated web app.
- Pure HTML + CSS is more than enough.
- No complicated graphs. Just a binary status (either it works or it does not).
- No dependency, should be able to run almost on its own as long as python is installed.
Let’s hack this thing
Now that we have the requirements we can start coding. Usually troubleshooting start with pinging the gateway and then if it works we can ping an external IP like 8.8.8.8. We could have all the commands in a list and run them one by one:
import os

tests = ["ping 192.168.1.1", "ping 8.8.8.8"]

for test in tests:
    os.system(test)
When testing this snippet we can see it will ping the ip address one after the other. But this is not very useful since we will be flooded by logs. We can use the return value of os.system to know if the process was successful: If a 0 is returned, the command was executed with success. Anything different indicate a failure.
import os

tests = ["ping 192.168.1.1", "ping 8.8.8.8"]

html = ""
for test in tests:
    result = os.system(test)
    if result == 0:
        html += "Success<br />"
    else:
        html += "Failure<br />"

with open("report.html", "w") as report:
    report.write(html)
After running the script, a file report.html will be created. This is how it looks:
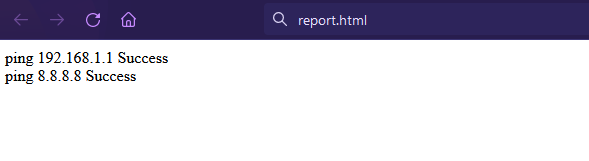
Not very impressive, but yeah its a start. Right from the beginning the biggest issue is the lack of some kind of friendly human name associated with the test. Yes we display the command that was executed behind the scene but we could have a much better success with something like: Gateway instead of ping 192.168.1.1.
To achieve that, the easiest is to slightly modify our settings. Instead of a simple list of all commands we want to run we can have a list of dictionary with a friendly name and its associated command. At this point it is also useful to have a test that will fail on purpose so we can experiment and see how both success and failure look like.
import os

# List of all tests we want to run
tests = [
    {"cmd": "ping 192.168.1.1", "name": "Gateway"},
    {"cmd": "ping 8.8.8.8", "name": "Google DNS"},
    # Creating a failure to see if it correctly detect failures
    {"cmd": "ping fail.urbanhacker.net", "name": "This should not work"}, ]

# Running all the tests and creating the report
html = ""
for test in tests:
    result = os.system(test["cmd"])
    if result == 0:
        html += test["name"] + " Success<br />"
    else:
        html += test["name"] + " Failure<br />"

with open("report.html", "w") as report:
    report.write(html)
After a quick run, we check how it looks.
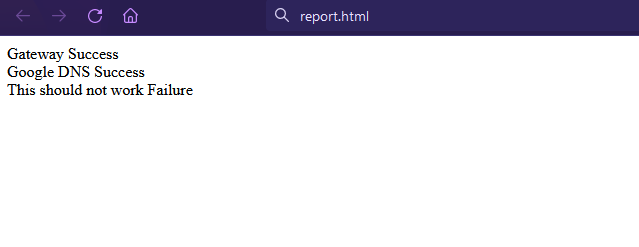
Now of course we could call it a day and it does the job, but its not very beautiful and can be a bit confusing to know the status of each tests. The “popular” way to make it look nice would be to download some cool javascript framework like react.js and make it all fancy, modern and at the same time probably slower, prone to errors and much more complicated to manage.
But creating our own css / javascript framework would also be a daunting task. Luckily for us there is an intermediate ground.
Introducing a minimalist framework
We are going to follow a similar approach but we will make sure to honor our minimalist goals. There is a pure open source CSS framework called VanillaCSS that does a good job at making a page look nice with no Javascript. We can download the source file and include it in our project so we do not rely on any external server in case the connection is lost. It would be silly to loose access to our status page because some random server on the internet is not working.
Lets include the framework and add a a title to make it more professional. We just need to initialize the html report with the framework link.
# Running all the tests and creating the report
html = '<link rel="stylesheet" href="vanilla.css">'
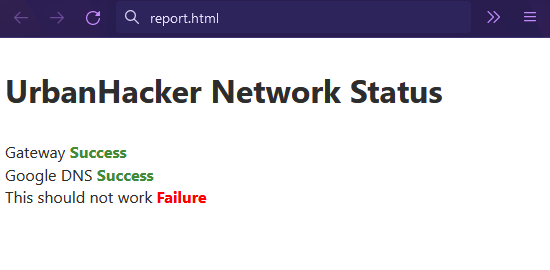
html += "<h1>UrbanHacker Network Status</h1>"And the result:
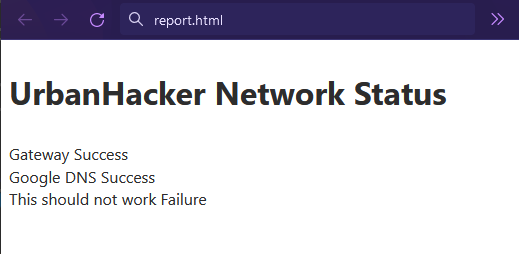
Better but not yet the wow factor we are looking for.
Bringing some colors
A low hanging fruit would be to add a color based on the result of the test. We can create two css classes, one for failures and one for success, and include them in the html report.
# Running all the tests and creating the report
html = """
<style>
.failure{
  color: red;
}
.success{
  color: #418a38;
}
</style>
<link rel="stylesheet" href="vanilla.css">
<h1>UrbanHacker Network Status</h1>
"""

for test in tests:
    result = os.system(test["cmd"])
    if result == 0:
        html += test["name"] + \
            " <strong class='success'>Success</strong><br />"
    else:
        html += test["name"] + \
            " <strong class='failure'>Failure</strong><br />"
Slowly we are getting there, but there is one last easy thing we could implement. Based on the result of all tests we can display a popup message, Eg: “No outage” or “One or more services are experiencing a problem”.
To do this we can aggregate how many tests have passed and based on that we can display a warning message.
This require a bit of reorganization of the code since we need to first execute all the tests to get the result, display the popup and after that display all the test results. By re-arranging the code slightly we can obtain the desired outcome.
errors = 0
test_html = ""
for test in tests:
result = os.system(test["cmd"])
if result == 0:
test_html += test["name"] + \
" <strong class='success'>Success</strong><br />"
else:
errors += 1
test_html += test["name"] + \
" <strong class='failure'>Failure</strong><br />"
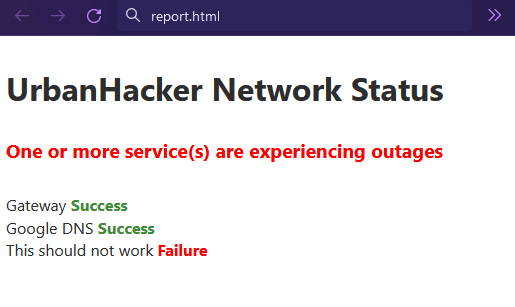
if errors > 0:
html += "<h3 class='failure'>One or more service(s) are experiencing outages</h3>"
else:
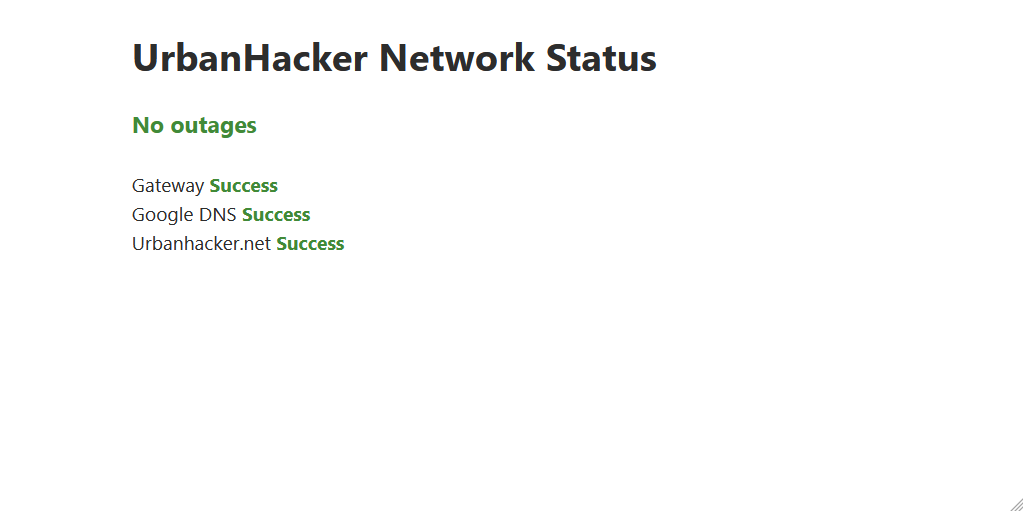
html += "<h3 class='success'>No outages</h3>"
html += test_htmlThe result (with a failure)
And without

Finally, we have our very basic page. It is easily extendable and more tests can be added. As long as they return 0 when passing and anything else when they fail. Of course there are still a few things we could improve.
First, it would be nice to be able to have categories. Often in status page services are grouped into sections, in our case we could have Local Network and External Network as section.
Second, while the style is very minimalist it does not mean we cannot make it a bit more polished, but this will be the subject of an upcoming blog post.
If you want to check the final code you will find it on github.
Credits
- For the general inspiration: https://github.com/karimsa/patrol
- A minimalist CSS framework: https://vanillacss.com/
- Space shuttle pictures: https://en.wikipedia.org/wiki/Criticism_of_the_Space_Shuttle_program